HOW TO DIY DISCO PUMPKINS
10/14/2022If you have followed me for a bit, you know one of my favorite things are disco balls. I shared how I use them year round as decor around the house HERE. Now that I know it’s possible to DIY “disco” almost anything, nothing is off limits. My first victims were a couple of old, ugly faux pumpkins. The process is literally so simple and very addicting. Cinderella wouldn’t mind her carriage turning back into a pumpkin if it were a disco pumpkin.
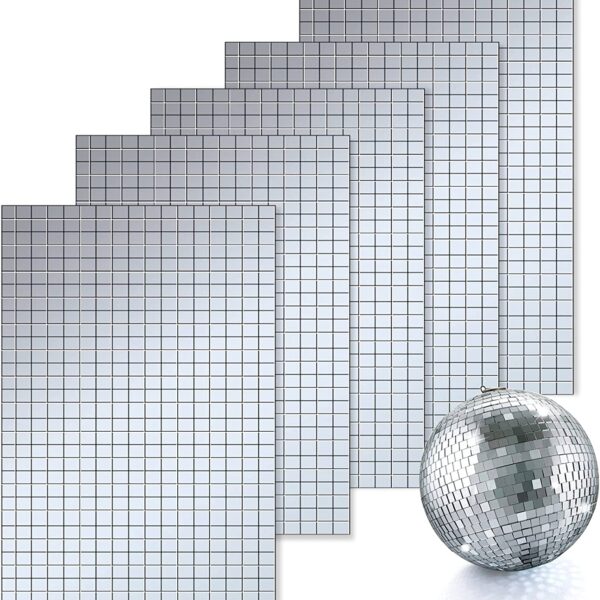
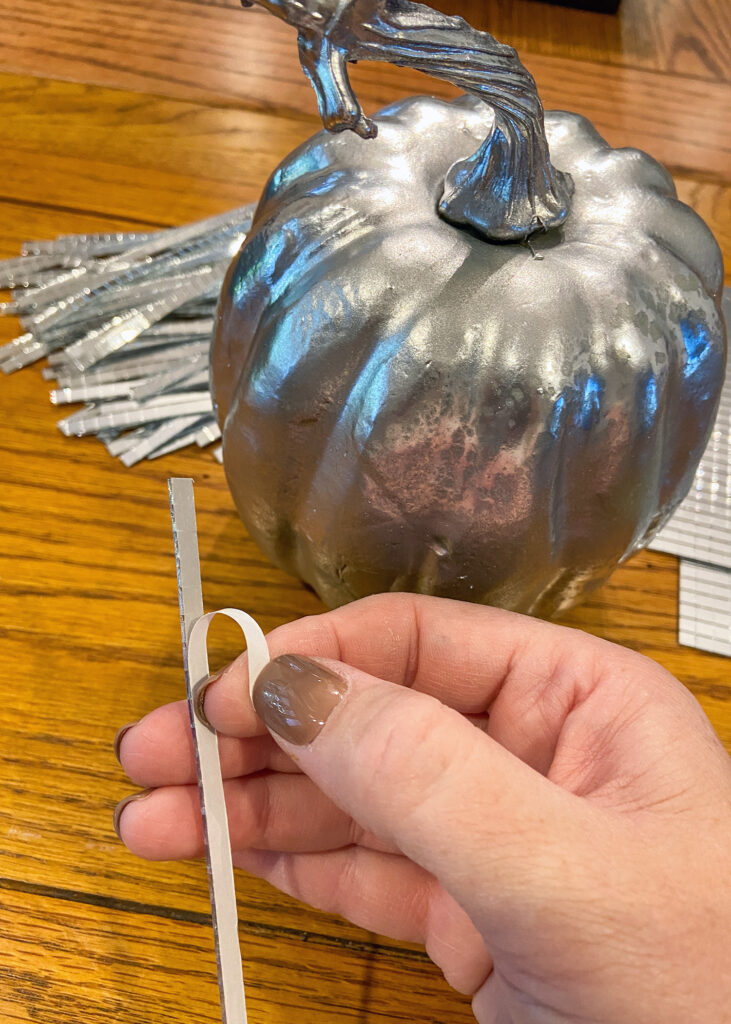
You’ll need a faux pumpkin, self-adhesive mirror tiles and silver spray paint.
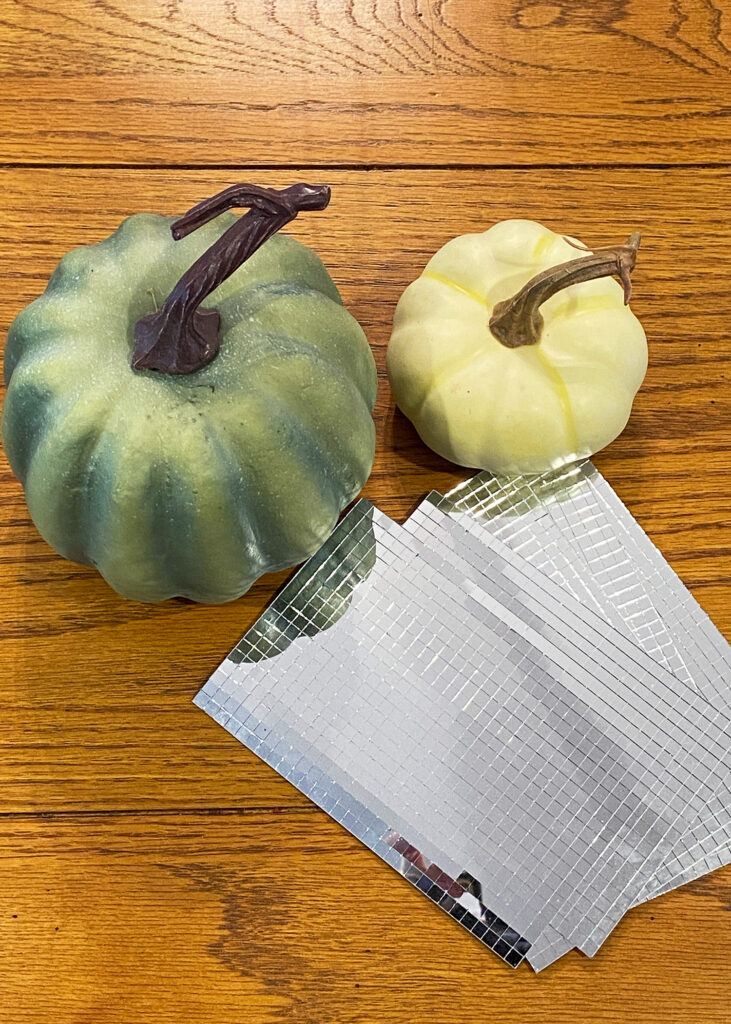
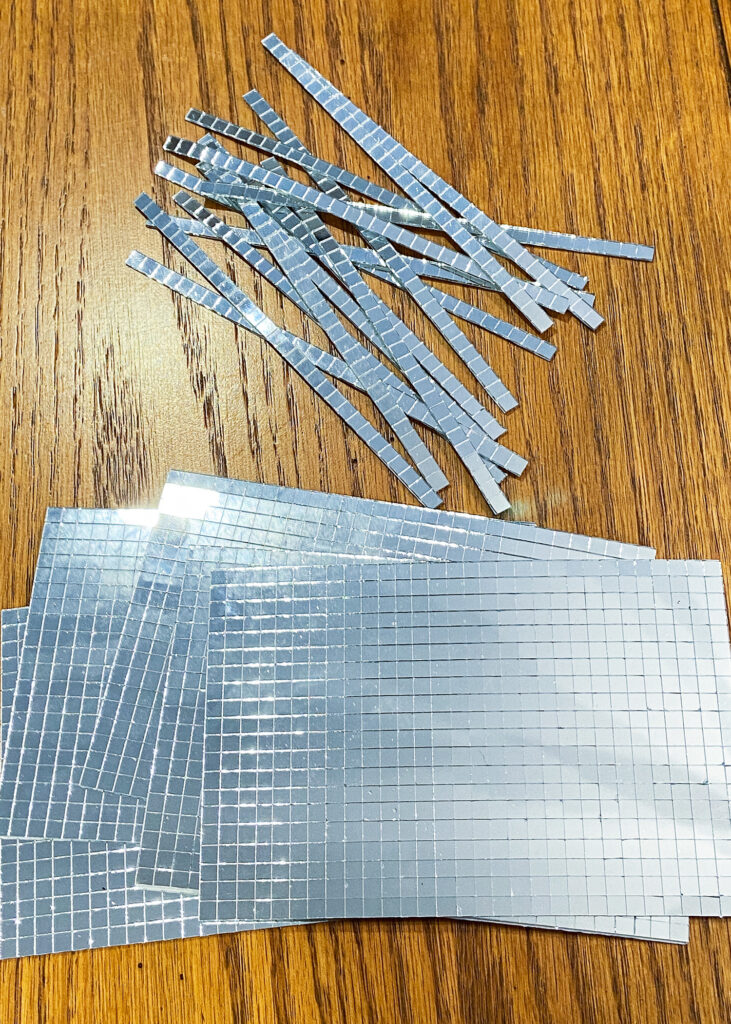
Cut the tiles into strips with scissors or an exacto knife. For the two pumpkins shown, I used three sheets of tiles. I realized after my order arrived that the mirror tiles are smaller than the usual size you see on a disco ball. But I ended up liking the final product better with the smaller size because it’s easier to cover the entire surface without many gaps.
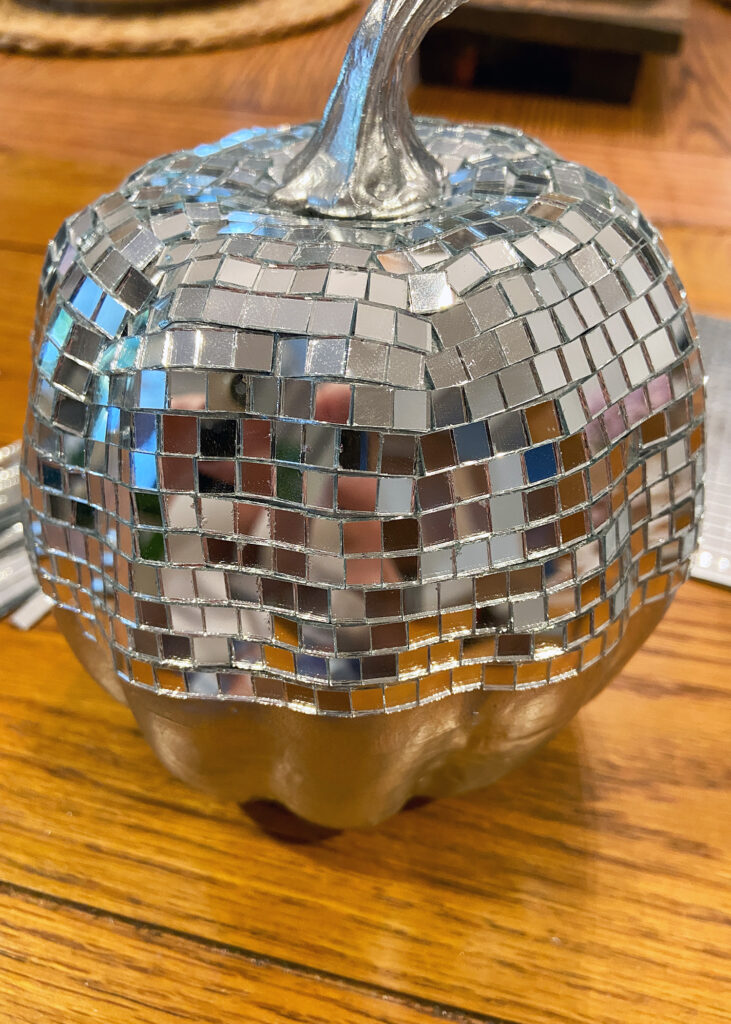
Spray paint the pumpkin(s) silver. This will help any parts of the pumpkin that aren’t completely covered in tiles to blend in.
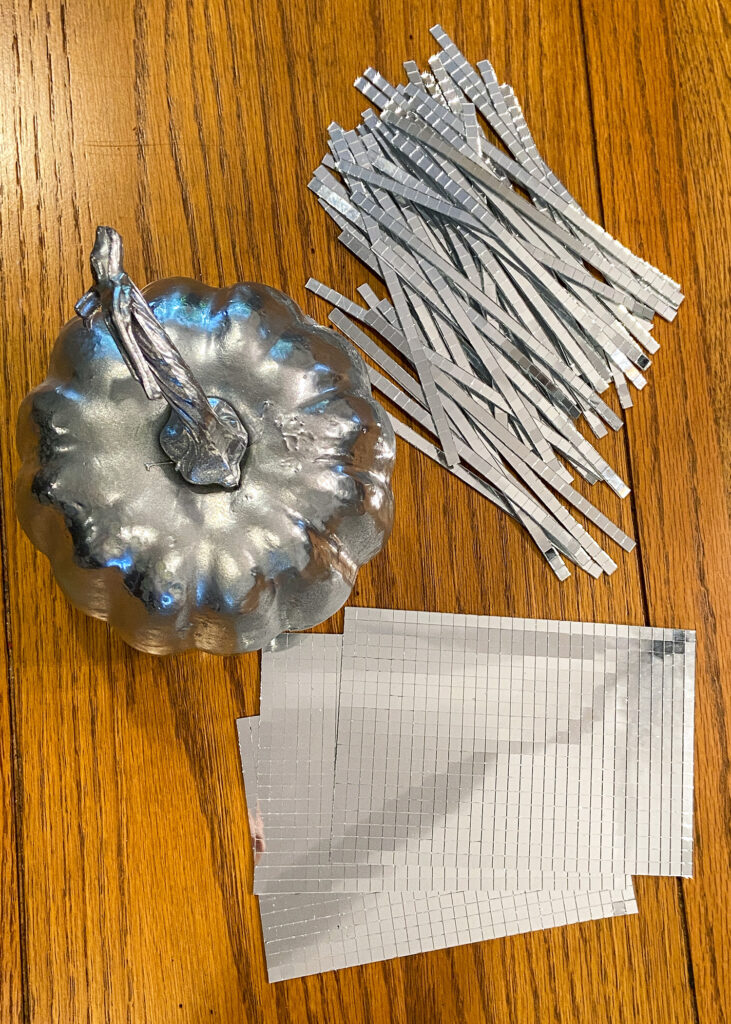
Peel backing off the mirror tile strips to expose the sticky side.
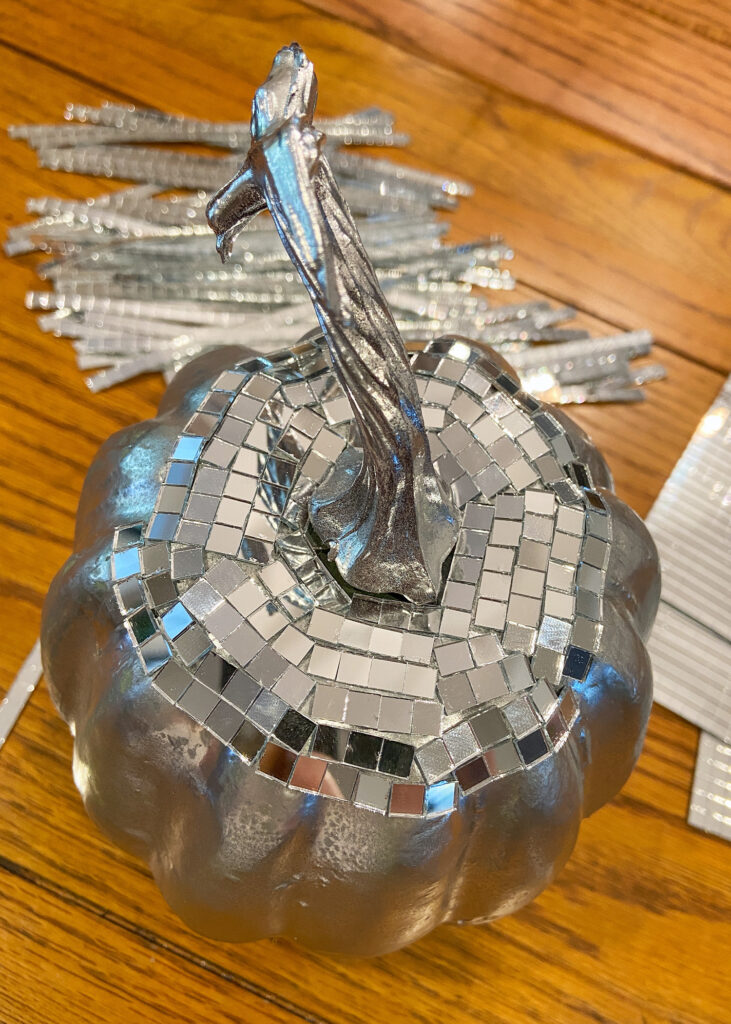
Begin placing the tiles as close to the stem as possible moving in a horizontal direction around the pumpkin. I initially attempted to apply vertically and quickly realized it’s best to apply horizontally in a circular motion around the pumpkin. As you begin you may think it’s going to be a disaster and it’s impossible to cover the entire surface without leaving blank spaces. Keep going. I promise it will all come together better than you imagined. Because of the silver spray paint, any bare spots will be camouflaged.
I found that the sticky strips are forgiving and can be removed, replaced and still stick perfectly. Continue round and round until the entire pumpkin is covered.
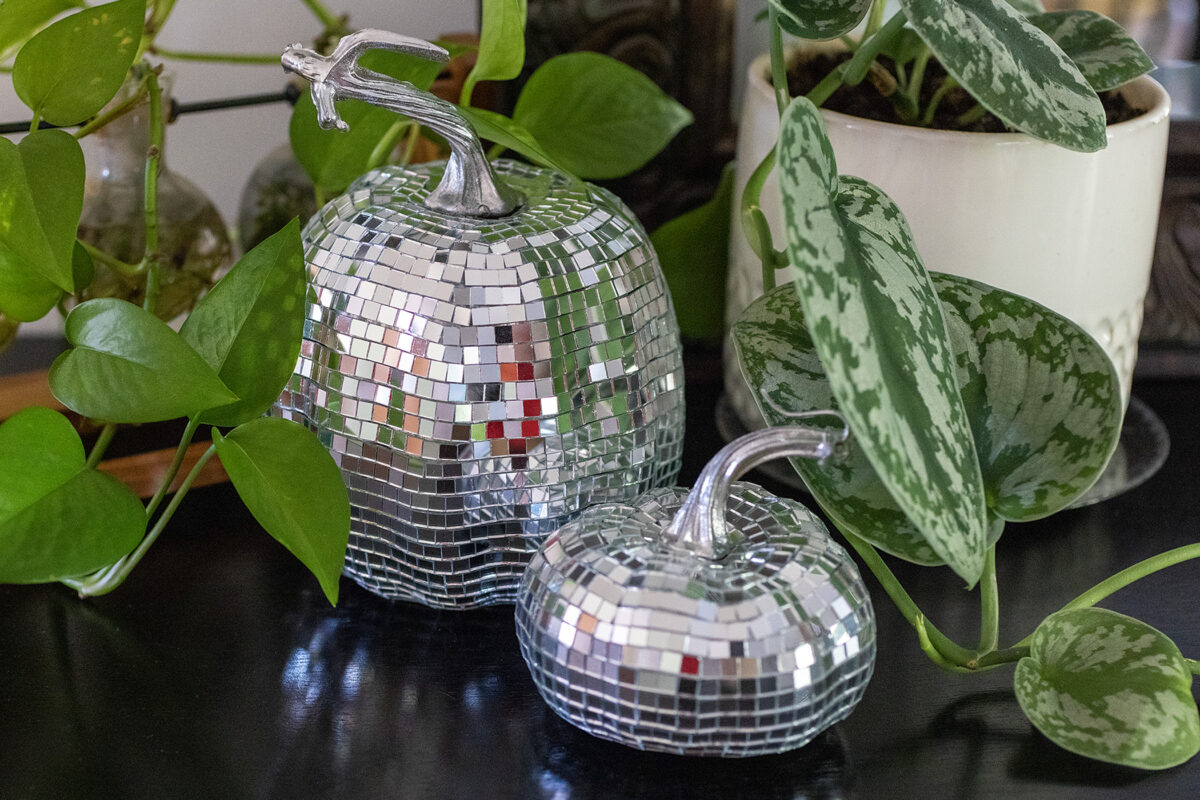
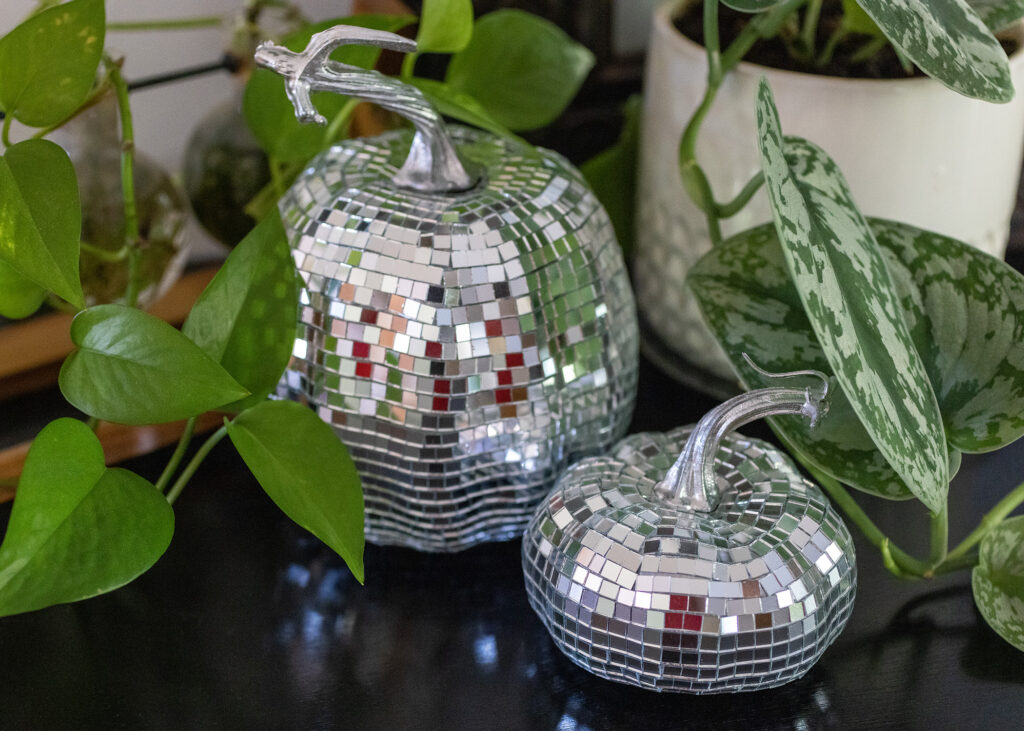
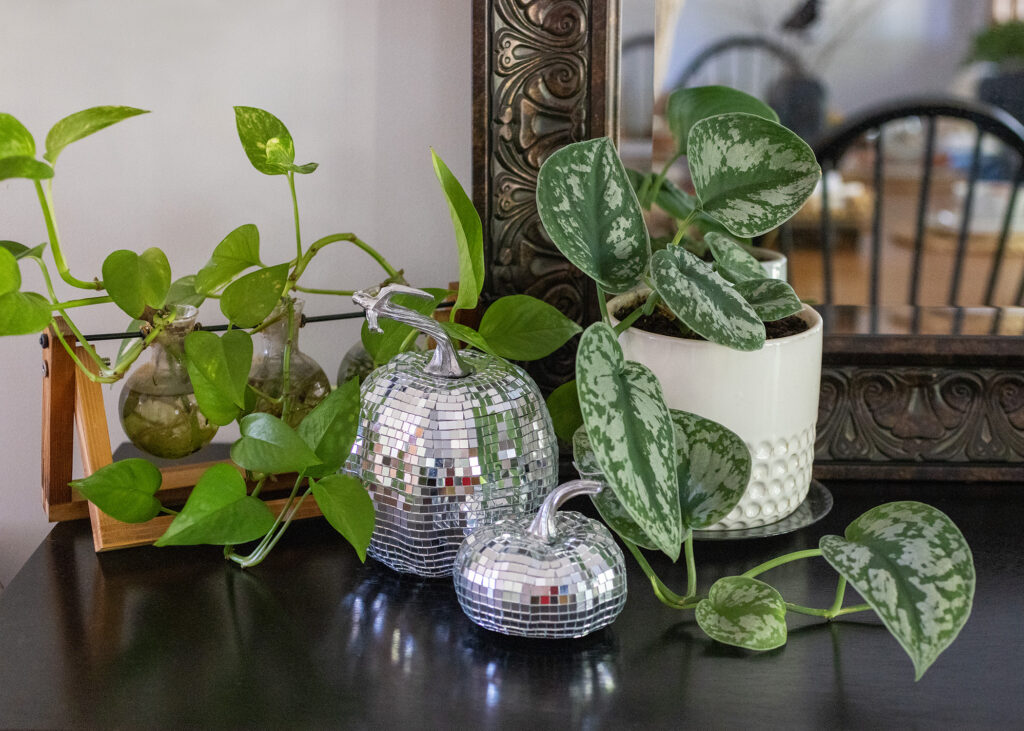
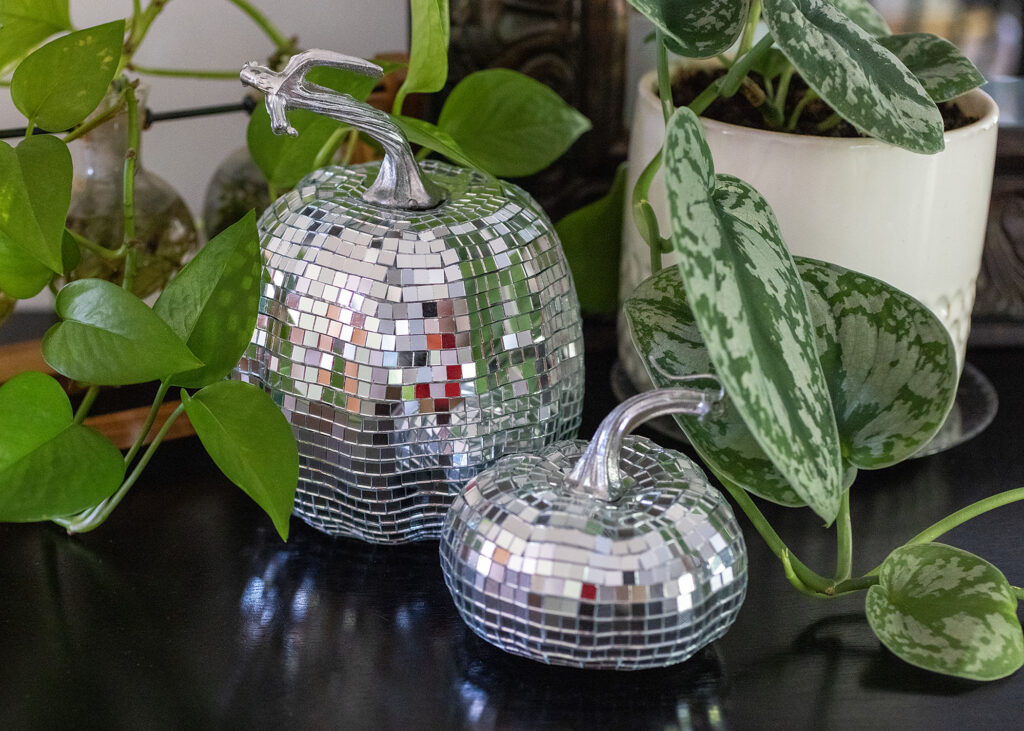
In no time you will have the cutest disco pumpkins you have ever seen. I adore these and the dots of light they spray around the room in the sunlight.
Just wait. I see a disco Christmas theme coming up.
Shop This Post